29.7.2012

Vectoring flowers

So I decided to create a small collection of flowers for my personal use. I made a few different flower designs and one goldfish for fun. I started out with gathering inspirational pictures and created a mood board. Then I picked the colors straight from that board and made a color collection. After that I picked a few different ways of creating flowers from drawn and real pictures. 

Moodboard

Color collection 

This is how I made the flowers to vectors:

First I picked a nice flower picture.

Then I Photoshopped the flower into black and white design using levels and contrast.
Finally I turned it  into Indexed colors to make sure there are no shades of grey, but only black and white.
Then I vectored the picture in Illustrator and colored it. 


Made from my drawing

Spring green works nicely with this flower.

This flower is my favorite. 

I really like these hippie colors!

This flower is more delicate.


This is Harvey the goldfish! Imagine a pair of rubber boots with a goldfish pattern, it would be awesome!


18.7.2012

Recycling vinyl

This is what I made: 


And here's how I made them:

Yesterday I decided to try something that I haven't done before. Also it has been a while since I did anything out of recycled materials. I started by googling different words for recycling and materials and I remembered I have those old LP vinyl records in my closet. They used to hang on my wall in the old apartment, but since we moved they've just been gathering dust. I was curious about how to make vinyl moldable because I have seen those vases that they make out of old Lp records. 

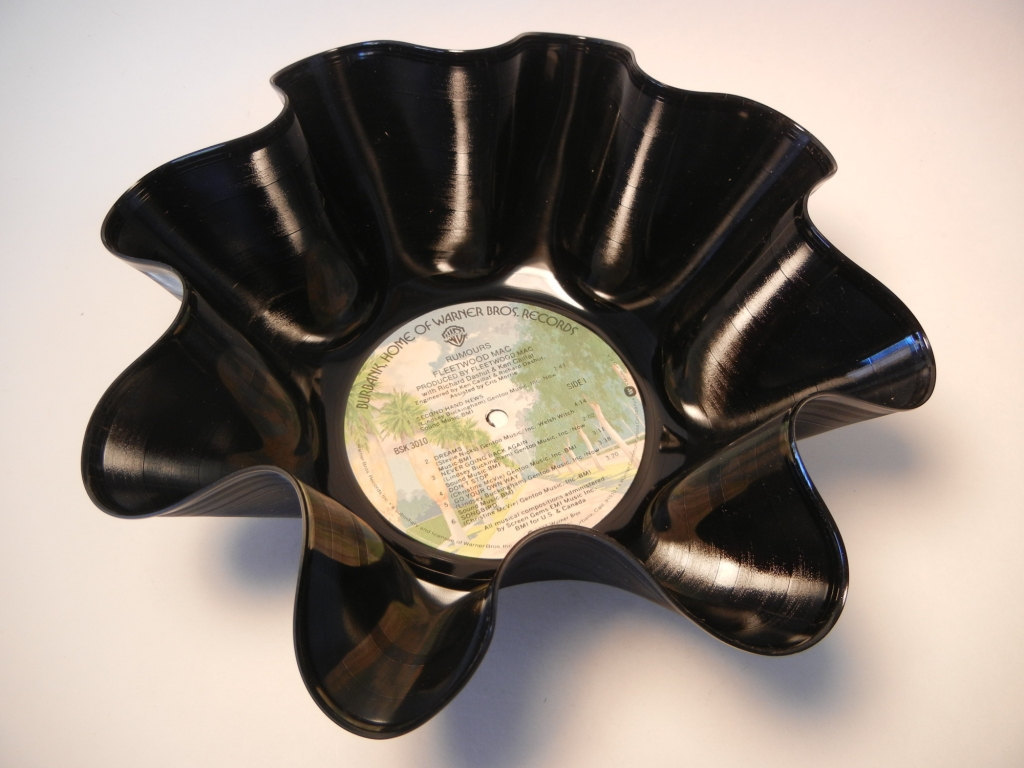
These kinds of vases made from vinyl records I've seen before.
I also found a few old vinyl projects and concluded that making vinyl soft requires heat. You can do it with and open flame (candles), in your home oven (10 or so minutes in about 120 degrees celcius), with hot water or with a blow dryer. What to keep in mind was that the vinyl releases toxic gas when it burns so you don't want to play with it too much.

I would imagine something like this would be cut with a
lasercutter and that releases the toxic gas aswell.  

I tried to make a few pieces over a candle but I soon realised that the vinyl melts too much for my taste (the edges of the items become thicker and bubbly looking very easily). I tried hot water and blow drying to see how they affect vinyl and I liked the outcome a lot more than with a candle. Somehow it seems also safer, though I don't have any proof of that. 

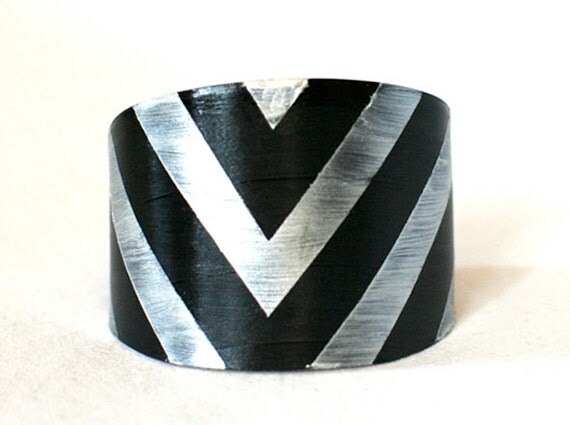
I wanted to make some jewelry, but cutting very detailed things out of small vinyl pieces seemed like too much of an effort for one night. So I made some cuffs instead! It's a good addition for my jewelry collection since I don't have any cuffs yet. I think it's always a good idea to make something new to keep the collection fresh!

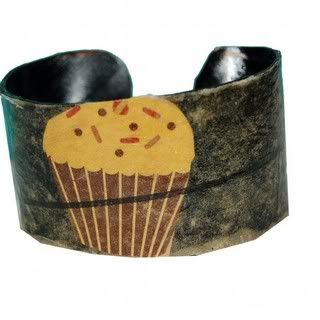
Some cuffs I found on the internet while googling. 

I heated the vinyl with my blow dryer. It took maybe 30-60 seconds for one part to be soft enough to cut with scissors. I took out some pieces that I though looked good for cuffs. After checking the edges and giving them some sanding paper I took my big pan on the stove. I put about a liter of water to it and put the heat to maximum. Once it started to boil, I moved the pan so that half of it was boiling, other half  wasn't. This way I could use the hot water without burning my fingers in the rising heat. I put one end of the cuff to the water and soon it started to go soft and I could mold it easily. The heated vinyl stiffens out really fast, but you can re-heat it multiple times. It takes some practise to get the shape right too so cut some extra ones.

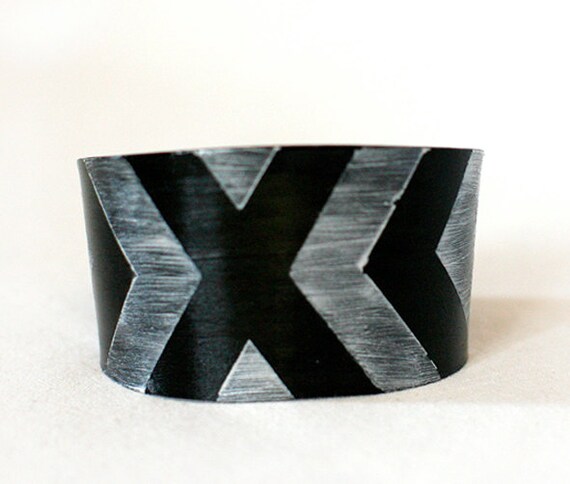
After you get the shape the way you want it, you need to decide how to pimp the cuffs! I simply painted my cuffs and coated them with a good protective lacquer!

Here's some ideas of what you might like:


1.7.2012

Kaveri in surgery

So, I got a dog last year. His name is Kaveri (Buddy) and he is a mix breed dog saved from the streets of Russia. Someone actually abandoned him to a summer cottage and was saved from there. He's a relatively small dog (under 10 kgs) and half corgi. I've always loved corgis since they're like fluffy sausages!

You can see the corgi side of him here: huge ears!
Last winter was really snowy and Kaveri was running in it alot. He just LOVES snow. One time he ran too fast in deep snow and twisted his knee so that it actually needed surgery to stop the kneecap from moving too much. Basically we took him to the vet because we were wondering why he keeps jumping his leg in certain speeds when walking outside.

The surgery was last tuesday and it was the most terrifying night of my life so far. He cried so much at night I barely slept at all and just kept patting his head. After that first night it has been a lot better tho and he is such a brave little doggy that he is already putting some weight on the leg.

Timetable for recovery:
2-3 days to remove the package on his leg
14 days to remove stitches and stop wearing the special collar
2 months to to able to run, take longer walks and be free (for example in the dog park).
6 months to full recovery of the kneecap

Price of the vet so far:
2 meetings + medicine = 250 euros
surgery +  medicine = 685 euros
medicine shots once a week after the removal of stitches = about 30 euros

voluntary aftercare fysio 60-70 euros per time (its preferred to go waterwalking but it's not required per say).

Here's how it looks with his surgery:

This is how it looked the first few days when his leg was still  in a package.

This picture was taken the day we took the package off his leg and he has
to wear this special collar to keep him from licking the stitches.
About 10 cm long stitches on the knee curve.
He doesn't want to move at all with this collar but he will have to wear it for 2 weeks when we can't watch him constantly.


We went to Ahvenanmaa for the week before Kaveris surgery and he was so happy running free! Hopefully I get this happy dog back soon.